Table of Contents
- Essential items in a starter kitchen kit for students
- Essential student kitchen utensils: the basic list
- Tableware and cutlery for a first-time setup
- Student budget: how much to set aside and where to save
- Cooktop compatibility: the criterion we forget
- Small-space kitchen tips: organizing and saving space
- Knife care and equipment durability
- Three simple recipes to test your kitchen kit
- Frequently Asked Questions
Last updated: September 18, 2026
Essential items in a starter kitchen kit for students
A complete starter kitchen kit for students brings together three types of tools: preparation, cooking and serving. Without these basics, every meal becomes a negotiation with the equipment. This guide is designed to help you avoid unnecessary purchases during your first week.
Moving in for the first time is a pivotal moment. Many students buy too many small items and not enough good tools. The result: a frying pan that sticks, a colander that leaks, and a knife that crushes tomatoes.
This guide covers the essentials, a realistic budget, cooktop compatibility, setting up a small kitchen, and equipment care. Three simple recipes will allow you to test your kit from the very first evening.

Essential student kitchen utensils: the basic list
The basic list consists of about ten items. A well-thought-out kitchen kit is not measured by the number of utensils, but by how often you actually use them.
Preparation: cutting board, peeler and bowls
The solid wood cutting board remains the most pleasant surface to use every day. It preserves the sharpness of knives, and its integrated handle makes storage easier. A peeler, a colander and two or three bowls complete the set.
The Cutting board | Hygienic and Durable at €31.99 offers a stable surface and intuitive handling. It is the purchase you will keep the longest.
Cooking: frying pan, saucepan and spatula
A frying pan, a saucepan and a spatula are enough for 80% of student meals. The Premium Stainless Steel Frying Pan at €48.99 is compatible with induction, ceramic, gas and electric cooktops. Its three-layer base distributes heat without creating hot spots.
The Heat-Resistant Silicone Spatula at €22.99 protects non-stick coatings. Its thin edge slides under food without tearing it.

Tableware and cutlery for a first-time setup
The tableware for a first-time setup consists of four plates, four bowls, four glasses, a cutlery set and two food containers. Buying sets of four covers shared meals without cluttering the cupboards.
A complete cutlery set includes a knife, fork, tablespoon and teaspoon. Add a corkscrew and a reliable can opener. The Ergonomic Robust Can Opener at €24.99 saves you from struggling with cans.
For serving, a Professional Ergonomic Ladle at €23.99 is equally suitable for serving soups and sauces. Its long handle keeps your hands away from the steam.

For everyday cooking, a EgoutRapid Colander at €17.99 hooks directly onto the rim of the saucepan. No more transferring hot pasta over the sink.
Student budget: how much to set aside and where to save
The rule is simple: invest in cooking and cutting equipment, and save on the rest.
| Item | Tight budget | Sustainable budget | Priority |
|---|---|---|---|
| Frying pan and saucepan | €40 | €80 | High |
| Cutting board | €15 | €32 | High |
| Main knife | €15 | €40 | High |
| Spatula and ladle | €15 | €47 | Medium |
| Tableware and cutlery | €25 | €45 | Medium |
| Bowls, colander, peeler | €20 | €35 | Medium |
| Scale and measuring cup | €15 | €32 | Low |
The smartest savings are on decorative tableware and single-use gadgets. A citrus juicer used twice a year costs more than a good knife used every day.
Official guide on the student budget and available aid
Cooktop compatibility: the criterion we forget
Cooktop compatibility is the most overlooked criterion when buying, and it is also the one that turns a good utensil into an unusable item. Student accommodation can be equipped with an induction, ceramic, gas or electric cooktop, and you will often only find out when you sign the lease. Buying an incompatible utensil means throwing away €40 to €50 from the very first week.
Understanding why some utensils do not work on induction
An induction cooktop does not heat: it generates a magnetic field that makes the iron molecules in the base of the utensil vibrate. This phenomenon is called electromagnetic induction. Direct consequence: if the base does not contain ferromagnetic material (iron, ferritic stainless steel, cast iron), no heat is produced. Aluminum, copper, glass and ceramic are invisible to an induction cooktop.
This is why a frying pan made of aluminum alone, even thick and expensive, remains unusable on induction. Conversely, a stainless steel frying pan with a three-layer base (stainless steel - aluminum - stainless steel) combines the responsiveness of aluminum with the magnetic compatibility of the stainless steel exterior.
The magnet test: two seconds to avoid a mistake
Before buying, place a refrigerator magnet on the base of the utensil. If it sticks firmly, the utensil will work on induction. If it slides or falls, it will not work. This test works on all metals and requires no special equipment. In stores, it is common to see buyers take a magnet out of their pocket before confirming a purchase; it is the reflex to adopt.
Compatibility chart by cooktop type
| Base type | Gas | Electric | Ceramic | Induction |
|---|---|---|---|---|
| Stainless steel only | Yes | Yes | Yes | Yes (if ferritic) |
| Three-layer stainless steel | Yes | Yes | Yes | Yes |
| Cast iron | Yes | Yes | Yes | Yes |
| Aluminum only | Yes | Yes | Yes | No |
| Copper | Yes | Yes | Yes | No |
| Glass / ceramic | No | Yes | Yes | No |
Student Housing-Specific Pitfalls
Three situations regularly occur in studios and university residences:
- The induction hob built into a mini countertop: it heats up quickly but only ferromagnetic bases. A kit purchased on the basis of a family gas kitchen can become unusable overnight.
- The old ceramic glass hob: it accepts all flat bases, but a domed or scratched base heats poorly and leaves marks that are difficult to clean. Favor perfectly flat bases.
- The gas hob with spaced grates: unstable small pots tip over. A wide and heavy base remains safer than a light utensil.
The Versatile Kit Strategy
For a student who does not yet know their housing, the rule is simple: favor stainless steel and cast iron, which work everywhere, and avoid aluminum alone and glass. A stainless steel pan with a three-layer base and a stainless steel pot cover 100% of the possible configurations. This choice avoids having to buy a new kit after the start of the school year and allows you to move without parting with your equipment.
Silicone Spatula | Heat-Resistant to →
Small-Space Kitchen Tips: Organize and Save Space
Small-space kitchen tips rely on three principles: hang, stack, and choose compact equipment. In a studio, every centimeter of countertop counts.
- Hang the cutting board on the wall by its grip hole
- Stack bowls and food containers of the same diameter
- Choose a Digital Programmable Kitchen Timer at €25.99 with magnetic attachment to the oven or fridge
- Keep cutlery in a vertical container rather than a drawer
- Use the Precise & Intuitive Kitchen Scale at €22.99 as an extra countertop for small preparations
The Professional Precision Measuring Cup at €8.99 fits between two appliances without cluttering. Its multiple graduations avoid accumulating several measuring containers.

Kitchen Knife Care and Equipment Durability
Kitchen knife care extends the life of equipment much more than the purchase price. A regularly sharpened knife cuts better than a neglected knife.
Why a knife gets dull (and why the dishwasher makes it worse)
A blade gets dull through two distinct mechanisms. The first is abrasion: the edge rounds off in contact with the board and acidic foods. The second is corrosion: moisture and detergents attack the steel, creating micro-pits that weaken the edge. The dishwasher combines both, heat, prolonged moisture, alkaline detergent, and accelerates wear by a factor of three to five compared to hand washing.
Immediate drying after washing is therefore just as important as washing itself. A knife left damp on the drying rack develops corrosion spots in a few hours, especially if the steel is low-end.
Sharpening: frequency, tools, and techniques
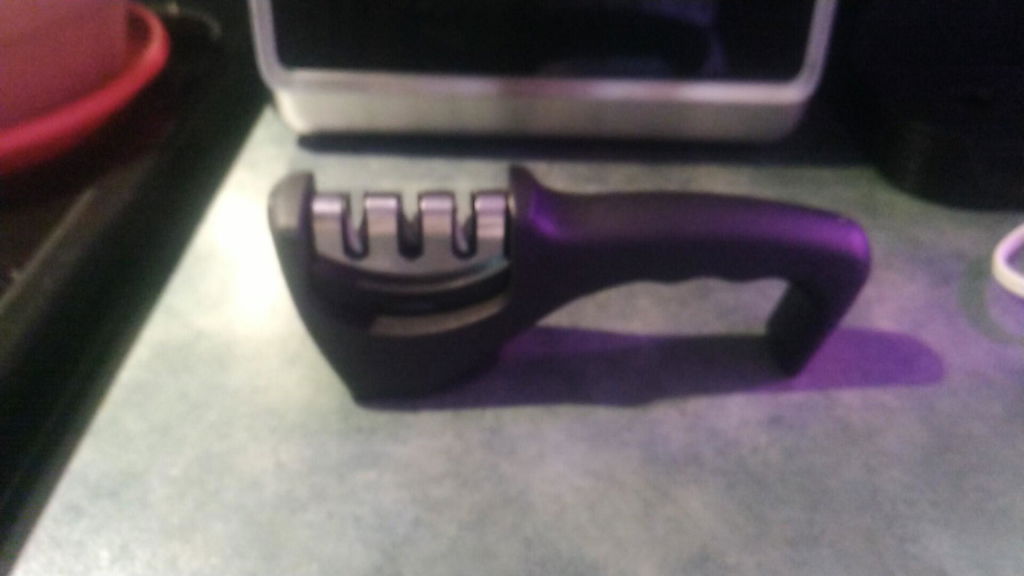
A knife used daily requires regular sharpening. Several tools exist, with different uses:
Wooden board: oiling, drying, and signs of wear
Solid wood is alive: it absorbs moisture, expands, and contracts. Three actions preserve it:
- Never immerse the board in water. A quick rinse with a sponge, then dry upright so that air circulates on both sides.
- Oil once a month with a neutral food-grade oil (food-grade linseed oil, food-grade mineral oil). Oil nourishes the wood and limits water absorption. Avoid olive oil, which goes rancid.
- Spot signs of wear: deep cracks, persistent odors, black spots. A cracked board retains bacteria and must be replaced.
Stainless steel, cast iron, and silicone: the right actions by material
- Stainless steel: soft sponge and classic dish soap. Avoid steel wool, which scratches the surface and promotes sticking. For brown marks (carbonized residue), a mixture of baking soda + white vinegar is enough.
- Cast iron: never wash with detergent, which removes the seasoned layer. Rinse with hot water, dry on the heat, then rub with an oiled cloth. A well-seasoned cast iron pan becomes naturally non-stick.
- Silicone: resists the dishwasher up to about 220 °C. Check the maximum temperature indicated by the manufacturer before using it in the oven. Silicone that yellows or hardens has exceeded its limit.
The maintenance calendar over an academic year
| Frequency | Action |
|---|---|
| Before each use | Run the honing rod over the main knife |
| Every week | Hand wash and dry all utensils immediately |
| Every month | Oil the wooden board, check the handles |
| Every 2 to 3 weeks | Complete sharpening of the main knife |
| Every quarter | Inspection of non-stick coatings, replace if peeling |
| Every year | Review: what held up, what needs to be replaced |
This routine takes five minutes a week and half an hour a month. It avoids having to buy a new kitchen kit every year and allows you to keep the same equipment from the first year to graduation.
official recommendations on hygiene and food safety
Three simple recipes to test your kitchen kit
Testing your kitchen kit on three recipes immediately reveals the shortcomings. Each recipe requires a different family of tools.
Pasta with tomato sauce tests the pot, colander, and ladle. Boil, drain with the clipped colander, serve with the ladle. If the draining is clean, your kit holds up.
Omelet with mushrooms tests the pan and spatula. Slice the mushrooms on the board, sauté them, pour the beaten eggs. The silicone spatula flips the omelet without tearing it.
Cookies test the scale and measuring cup. Weigh the flour to the gram, measure the milk to the milliliter. The digital timer handles the twelve minutes of cooking without supervision.
If these three recipes go without frustration, your kitchen kit is complete. Otherwise, identify the missing tool and complete only that one.
kitchen technical sheets and cooking temperatures
A complete kitchen kit for a beginner student does not need to be vast, it must be reliable. The real challenge is not to buy a lot of utensils, but to choose those that will last three years of daily use. Hell-kitchen-equipment selects accessories combining practicality and efficiency, from ingenious utensils to professional knife sharpeners, to facilitate all your preparations. We allow passionate amateurs as well as demanding cooks to cook simply and with pleasure, by improving their efficiency thanks to tools designed for performance. Our range stands out for its ability to transform the culinary experience, guaranteeing successful preparations at every step. Add the essentials to your cart and cook simply, from the first evening.
Frequently Asked Questions
What are the essential kitchen utensils for a student who is starting out?
A complete kitchen kit for a beginner student relies on five basic functions: cutting (knife, cutting board, peeler), cooking (stainless steel pan, pot), mixing (silicone spatula, ladle), measuring (kitchen scale, measuring cup), and draining (colander). Add a sturdy can opener, food containers for leftovers, and a kitchen timer. These utensils cover 90% of everyday recipes: pasta, rice, eggs, sautéed vegetables, soups, and stews.
How to equip a small studio kitchen with a limited student budget?
Start with the utensils that are used every day: an induction-compatible stainless steel pan, a heat-resistant silicone spatula, a cutting board, a colander, and a measuring cup. These five pieces are enough to cook varied meals. Then add a kitchen scale for baking and a timer to avoid burnt dishes. Avoid buying a pre-packaged kit with useless accessories: five quality tools that last for years are better.
Should you favor multifunctional utensils when you are a student?
Multifunctional utensils appeal because of their price, but they often break faster and take up as much space as a dedicated tool. A heat-resistant silicone spatula, for example, serves to flip, mix, and scrape a salad bowl. An ergonomic stainless steel ladle serves to serve soups, sauces, and pasta. These two tools replace five accessories on their own. Favor versatility of use rather than folding gadgets that wear out quickly.
How to maintain your kitchen knives from the start?
Wash your knives by hand, never in the dishwasher: hot water and detergents damage the edge and the handle. Dry them immediately after washing to avoid spots. Store them on a magnetic holder or in a block, never loose in a drawer where the blades clash. A maintained knife keeps its sharpness for years.