Table of Contents
- What You Need to Master Before Touching a Utensil
- The Fundamental Techniques of Professional Kitchen Utensils
- Professional Knife Cutting Techniques: The One Gesture That Changes Everything
- Professional Kitchen Equipment Care: What Lasts and What Wears Out
- Professional Kitchen Hygiene Standards and Food Safety
- Workstation Organization and Kitchen Ergonomics
- Common Mistakes and How to Correct Them
- Conclusion
- Frequently Asked Questions
Last updated: October 1, 2026
What You Need to Master Before Touching a Utensil
Professional kitchen utensil training begins long before the first cut. It rests on three pillars: knowing your equipment, adopting the right techniques, and following hygiene rules.
An improperly held utensil wears out quickly. A poorly learned technique fatigues the wrist. An improperly maintained blade becomes dangerous.
Here is what you need to understand first:
- Weight and balance: a knife is judged by its balance point, not by the length of the blade
- Material: stainless steel resists, Teflon wears out, copper conducts
- Sharpness: a dull knife requires more force, and therefore poses more risk
- Posture: feet anchored, shoulders low, wrists aligned
This foundation prevents 80% of common mistakes. The rest is learned through repetition.
The Fundamental Techniques of Professional Kitchen Utensils
Mastering technical gestures is the practical skill that distinguishes an independent cook from a beginner. It is acquired through hands-on practice, not theory.
Grip, Portioning, and Hand-Eye Coordination
Three gestures recur in all culinary preparations.
The grip. Hold the handle like a firm but flexible handshake. Do not tense up. A relaxed hand tires less than a clenched one.
Portioning. An ergonomic ladle is filled halfway for consistent serving. The wrist remains straight. The elbow does the work.
Hand-eye coordination. The eye guides, the hand executes. This synchronization is practiced slowly at first, then naturally accelerates.
A good utensil makes these gestures easier. A bad utensil makes them more difficult, regardless of your skill level.
Professional Knife Cutting Techniques: The One Gesture That Changes Everything
Uniform cutting relies on a consistent angle and a hand that moves forward without forcing. This is the technique that separates a clean preparation from an approximate one.

Blade Angles, Finger Positioning, and Cutting Rhythm
The blade angle determines everything. An angle of 15 to 20 degrees cuts cleanly. An angle that is too closed crushes the food. An angle that is too open slips.
Finger positioning matters just as much. The hand holding the food curls into a claw. The fingertips tuck toward the palm. The knuckles guide the blade.
Then there is rhythm. A regular cut is not fast; it is consistent. Ten slow, clean cuts are better than twenty irregular ones.
Professional cutting tools amplify these good gestures. They do not replace them.
Professional Kitchen Equipment Care: What Lasts and What Wears Out
Maintaining professional kitchen equipment extends the life of your tools by several years. A well-maintained knife cuts better than a poorly treated new knife. But most guides stop at "sharpen, wash, store." Here is what really happens to steel, wood, and Teflon, and the preventive maintenance gestures that users can do themselves, without a workshop.
User-Performed Preventive Maintenance: Sharpening, Washing, and Storage
Preventive maintenance consists of three simple habits, but their effectiveness depends on frequency and the exact gesture.
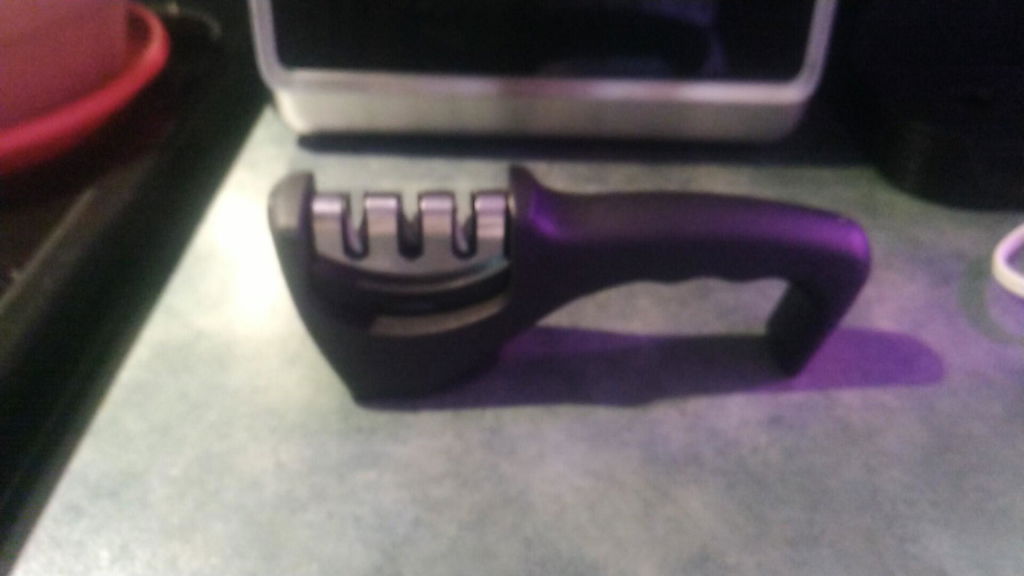
Sharpening. A pass over a professional sharpener straightens the edge. Do this as soon as the blade slips instead of biting. A manual sharpener with guided angles prevents ruining the edge. The mechanism is simple: the edge is aligned and straightened, but it is not recreated. A sharpening rod (or honing rod) realigns the edge; a stone or angle sharpener recreates the bevel. Confusing the two prematurely wears out the blade. In practice, use a rod before each service, and a stone every fifteen to thirty days depending on use.
Washing. By hand for blades. Boiling water and the dishwasher damage the edge and the handle. Approved food-grade detergent is sufficient; diluted bleach attacks wooden handles and glues. Dry immediately, never soak: moisture migrates by capillary action between the tang and the handle.
Storage. On a magnetic holder or in a block.
What Lasts, What Wears Out: Understanding Materials
What lasts: stainless steel, hardwood, forged steel. What wears out: scratched Teflon, low-end plastic, glued handles.
Professional Kitchen Hygiene Standards and Food Safety
Hygiene standards in professional kitchens follow the HACCP framework. This framework rests on seven principles of sanitary control.
In practical terms, for utensils:
- Separate boards by food group (raw, cooked, poultry, fish)
- Cleaning after every use with an approved food-grade product
- Clean storage away from splashes
- Traceability of cleaning operations
Workstation Organization and Kitchen Ergonomics
Ergonomics in the kitchen reduces fatigue and prevents musculoskeletal disorders (MSDs). A well-thought-out workstation saves time during every service. But ergonomics is not limited to the height of the work surface: it begins with how we hold and repeat gestures with utensils.
Preventing MSDs from Repetitive Utensil Use
MSDs in the kitchen do not come from a violent gesture, but from thousands of identical gestures. The wrist repeating a cut, the shoulder lifting a full ladle, the hand gripping a handle: these are the same joints stressed eight hours a day. Prevention rests on three concrete levers.
The Basic Principles of a Workstation That Holds Up All Day
- Work surface at elbow height when bent: too low, you lean over; too high, you raise your shoulders.
- Anti-fatigue mat for prolonged standing: it reduces pressure on the heels and lower back.
- Suspended tools rather than stacked: you can grab them without bending over or rummaging.
- Direct lighting on the cutting area: the less you squint, the less you lean your head forward, the less you tense your neck.
- Stable boards: a board that slips forces you to hold it, which tenses the hand holding the food.
Workplace safety comes down to these details. A knife stored in the right place is one less gesture and one less risk. A maintained handle is a secure grip and a preserved joint.
Common Mistakes and How to Correct Them
The same mistakes recur in almost every kitchen.
| Mistake | Consequence | Correction |
|---|---|---|
| Dull knife | Excessive force, slipping | Sharpen as soon as resistance is felt |
| Single board | Cross-contamination | One board per food group |
| Greasy handle | Loss of grip | Systematic washing and drying |
| Wrong blade angle | Crushed food | Constant angle of 15-20° |
| Cluttered utensils | Chipped blades | Magnetic holder or block |
| Poorly set up workstation | Back pain | Adjusted height and mat |
Conclusion
Every cook knows that moment when fatigue takes over and gestures become sloppy. The solution lies in three things: good gestures, regular maintenance, and reliable tools.
Frequently Asked Questions
What are the essential utensils for starting out in a professional kitchen?
Three tools cover 80% of preparations: a 20 cm chef's knife, a stable board, and a stainless steel whisk. The AéroCuisine professional whisk at €13.99 resists corrosion and keeps its wires straight even after hundreds of uses. Add an ergonomic stainless steel ladle at €23.99 for liquids: its long handle keeps your hands away from the steam. These three kitchen utensils are enough to whip up a cream, cut vegetables, and serve sauces without stress.
How can you maintain your kitchen utensils to ensure their longevity?
Maintaining professional kitchen equipment involves three steps: washing it in hot water with a mild detergent at the end of service, drying it immediately to prevent limescale marks, and sharpening knives every 4 to 6 weeks with a suitable sharpener. Stainless steel is dishwasher-safe, but hand-drying helps maintain its shine. Store knives on a wall-mounted rack or in a knife block, never loose in a drawer where the blades can knock against each other.
Are there short courses available to learn how to use professional knives?
Yes. Professional knife skills can be learned in just a few hours of guided practice: the claw grip, a blade angle of 15–20°, and a smooth rocking motion without forcing the cut. Many training centers offer 3- to 7-hour courses focused on cutting techniques. If you are teaching yourself, film yourself or practice in front of a mirror to correct your posture. The key is to repeat the same techniques on simple ingredients (onions, carrots) before moving on to more delicate items.
How can you choose a course that covers the use of specific kitchen utensils?
Consider three criteria: practical content (time spent in the kitchen, not just theory), the equipment provided or required, and the group size (no more than 8 to 12 people for effective guidance). A useful course covers technical skills, equipment maintenance, professional kitchen hygiene standards, and ergonomics. Ask for a detailed syllabus: if it does not include hands-on practice with utensils, look elsewhere. Short courses lasting 1 to 3 days are ideal for enthusiasts who want to improve quickly.