Table of Contents
- Difference between a knife straightener and a sharpening stone: which tool for which purpose
- Kitchen knife sharpening frequency: when and how to know
- How to clean a kitchen knife without damaging it
- Which sharpener to choose for beginners: step-by-step starter kit
- Sharpening mistakes that damage a blade (and how to correct them)
- Preventive maintenance plan for a long-lasting edge
- Frequently Asked Questions
Last updated: September 25, 2026
Difference between a knife straightener and a sharpening stone: which tool for which purpose
A knife that crushes a tomato instead of slicing it costs a lot in energy, patience, and precision. The maintenance and sharpening of beginner kitchen knives depend on a distinction that many ignore: the straightener and the stone do not do the same job. This guide from Hell-kitchen-equipment explains when to use one, when to bring out the other, and how to avoid damaging a blade through ignorance.

The knife straightener: realigning the edge without removing material
The knife straightener is a straightening tool, not a sharpening tool. It realigns the blade edge that has flattened on one side after a few uses.
The sharpening stone: recreating a worn blade edge
The sharpening stone recreates a blade edge when the cutting edge has truly disappeared. It is a grinding job: we remove material to reform the edge.
Kitchen knife sharpening frequency: when and how to know
The sharpening frequency of a kitchen knife depends on use, not on the calendar. A knife used every day requires a pass on the stone every two to three months. A knife taken out on the weekend easily lasts six months.
The signs that don't lie
- The tomato gets crushed instead of being cleanly sliced
- You have to press hard to cut an onion
- The blade slips on the skin of vegetables
- The knife veers to the left or right when cutting
- Fresh herbs get crushed instead of being finely chopped
If three of these signs appear at the same time, the straightener will no longer be enough. You need to switch to a stone or a sharpener.
How to clean a kitchen knife without damaging it
Hand washing remains the only safe method for a kitchen knife. The dishwasher combines heat, moisture, and impacts against other cutlery, three attacks that damage the edge and the handle.
Carbon steel: dry immediately after washing
Carbon steel offers a superior edge but rusts upon prolonged contact with water. Dry the blade within the minute following washing.
15° angle wooden roll sharpener →
Which sharpener to choose for beginners: step-by-step starter kit
Choosing a sharpener when you are starting out is like choosing your level of commitment. Three families exist: the roll sharpener with an angle guide, the multi-stage manual sharpener with slots, and the carbide wheel suction sharpener. Each is suitable for a different profile, and none require any particular expertise.
| Model | Price | Mechanism | Required level | Compatible blades |
|---|---|---|---|---|
| 15° wooden roll sharpener | €20.99 | Rotating cylindrical stone, engraved angle guide | Beginner to intermediate | Office, chef, Japanese santoku |
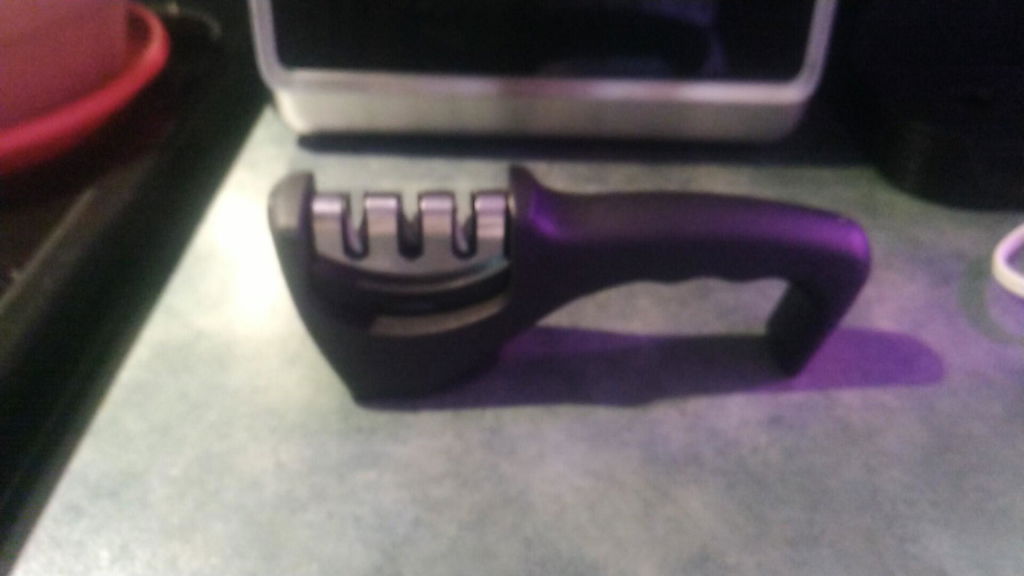
| Multi-stage manual sharpener | €9.99 | Two slots, coarse then fine | Complete beginner | All sizes, right-handed and left-handed |
| Compact 2-slot sharpener | €22.99 | Sharpening then polishing, cap included | Beginner | Chef, office, serrated |
| Carbide suction sharpener | €13.99 | Two carbide wheels, suction mount | Beginner in a hurry | Chef, office, serrated |
Sharpening mistakes that damage a blade (and how to correct them)
Three mistakes recur among almost all beginners. Correcting them extends the life of a knife by several years. But knowing how to avoid them is not enough: when the blade is already damaged, you need to know how to fix it. Here are the two parts.
The three basic mistakes
Angle too open or too closed. An angle that is too acute weakens the edge, which dulls faster. Too obtuse, it cuts poorly. Follow the blade's original angle, or use a guide like that of the roll sharpener.

| Mistake | Consequence | Correction |
|---|---|---|
| Irregular angle | Weak edge, rapid wear | Use an engraved angle guide |
| Excessive pressure | Unbalanced sharpening | Pull lightly, let the abrasive work |
| Only one side sharpened | Unstable bevel | Alternate the two sides |
| No final polishing | Rough edge, snagging | Switch to a fine grit or finishing slot |
Troubleshooting: fixing an already damaged blade
This is the point that almost no guide covers, and yet it is where a beginner needs help. Three typical cases.
Preventive maintenance plan for a long-lasting edge
Most sharpening guides stop at the action. However, a beginner kitchen knife is mainly kept by prevention: what we do between two sharpenings determines whether the blade will last five or fifteen years. Here is the complete plan, from daily to yearly, with the points that almost no one mentions.
The basic routine, from daily to yearly
- Before each use: five to ten passes with the straightener, constant angle, without forcing
- After each use: hand wash, dry immediately, store on a stand or magnetic bar
- Every week: visual check of the edge, the blade, and the blade-handle junction
- Every two to three months: pass on a sharpener or stone depending on actual use
- Every year: handle check, rivet tightening, examination of the tang under the handle
This skeleton is known. What is less known is what happens outside of sharpening.
Preventing corrosion: the real silent killer
A blade that rusts loses its edge through pitting, not wear. Two families of steel react differently:
- Carbon steel: superior edge, but reacts to moisture in a few minutes. Immediate drying is mandatory, then a very thin film of food-grade oil (camellia oil, food-grade mineral oil) on the entire blade. Renew after each wash if the knife remains stored for several days.
- Stainless steel: more tolerant, but not immune. Brown spots appear mainly at the tang and rivets, where water stagnates. A careful drying of these areas is sufficient in the majority of cases.
Never store a damp knife in a closed knife block or leather case. Trapped moisture attacks the blade and causes the wooden handle to swell. Let it air-dry for ten minutes before storing.
Oiling and Caring for a Wooden Handle
A dry wooden handle will crack, absorb washing water, and eventually loosen around the blade. Two simple steps are all it takes:
- Once or twice a year, apply a thin layer of food-grade linseed or mineral oil to the wood, let it soak in for fifteen minutes, and wipe off the excess.
- Avoid soaking. A wooden handle should never go into a full sink or the dishwasher, even on a short cycle.
Addressing Micro-Chips Before They Worsen
A micro-chip is a small nick on the edge, often invisible to the naked eye but noticeable to the touch (run your finger across the edge, never along it). Typical causes: cutting on glass or ceramic, or striking bone.
Treatment depending on severity:
- Minor chip: a few passes on a medium-grit whetstone are enough to make it disappear.
- Pronounced chip: you must first reshape the edge on a coarse-grit stone, then polish. Do not try to fix it with a sharpening rod, as you will only lay the edge flat around the defect.
- Deep chip: if it resists two sessions on the whetstone, it is wiser to consult a professional than to ruin the bevel.
What Helps Preserve the Edge Every Day
Storage is just as important as sharpening. A knife tossed loosely into a drawer will knock against others and become dull through contact. A wooden or flexible plastic cutting board preserves the edge much better than a glass or ceramic surface.
Frequently Asked Questions
How should beginners sharpen their kitchen knives?
Start with a roll sharpener like the 15° angle one from Hell-kitchen-equipment: the engraved angle guide eliminates any technical errors, all you need to do is glide the blade over the rotating stone. For a tighter budget, the €9.99 multi-stage manual sharpener does the job in three passes. Avoid a flat whetstone until you have mastered the technique, as an uneven angle dulls the blade faster than it sharpens it.
How often should knives be sharpened?
A chef's knife used daily should be run over a sharpening rod or roll sharpener once a week, and receive a full sharpening every two to three months. A rarely used paring knife only needs sharpening every six months. The real indicator remains the tomato test: if the blade crushes the fruit instead of slicing through it, it is time to act, regardless of when it was last sharpened.
Can all kitchen knives go in the dishwasher?
No. The heat and prolonged moisture of the dishwasher attack the blade's edge and cause wooden handles to split. Wash your knives by hand in hot soapy water, keeping the blade away from the bottom of the sink. Dry immediately with a soft cloth, especially carbon steel, which oxidizes in a few minutes. This simple routine extends the life of your blades by several years.
What is the best tool for a beginner who wants to sharpen their knives?
The €20.99 15° wooden roll knife sharpener is the safest for a beginner: its engraved guide ensures a consistent angle without any particular skill, and it accommodates both paring knives and Japanese santokus. If you want something even simpler, the €13.99 carbide tungsten wheel sharpener with a suction cup attaches to a smooth surface and leaves both hands free to guide the blade, reducing the risk of slipping.